|
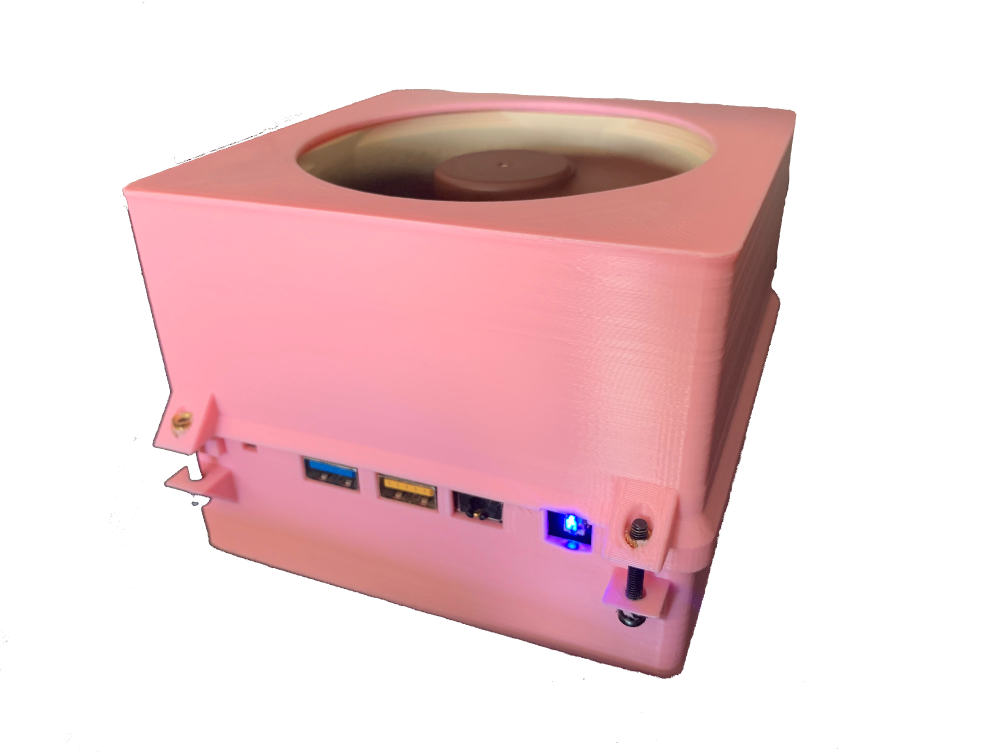
The NUCleus Cooler |
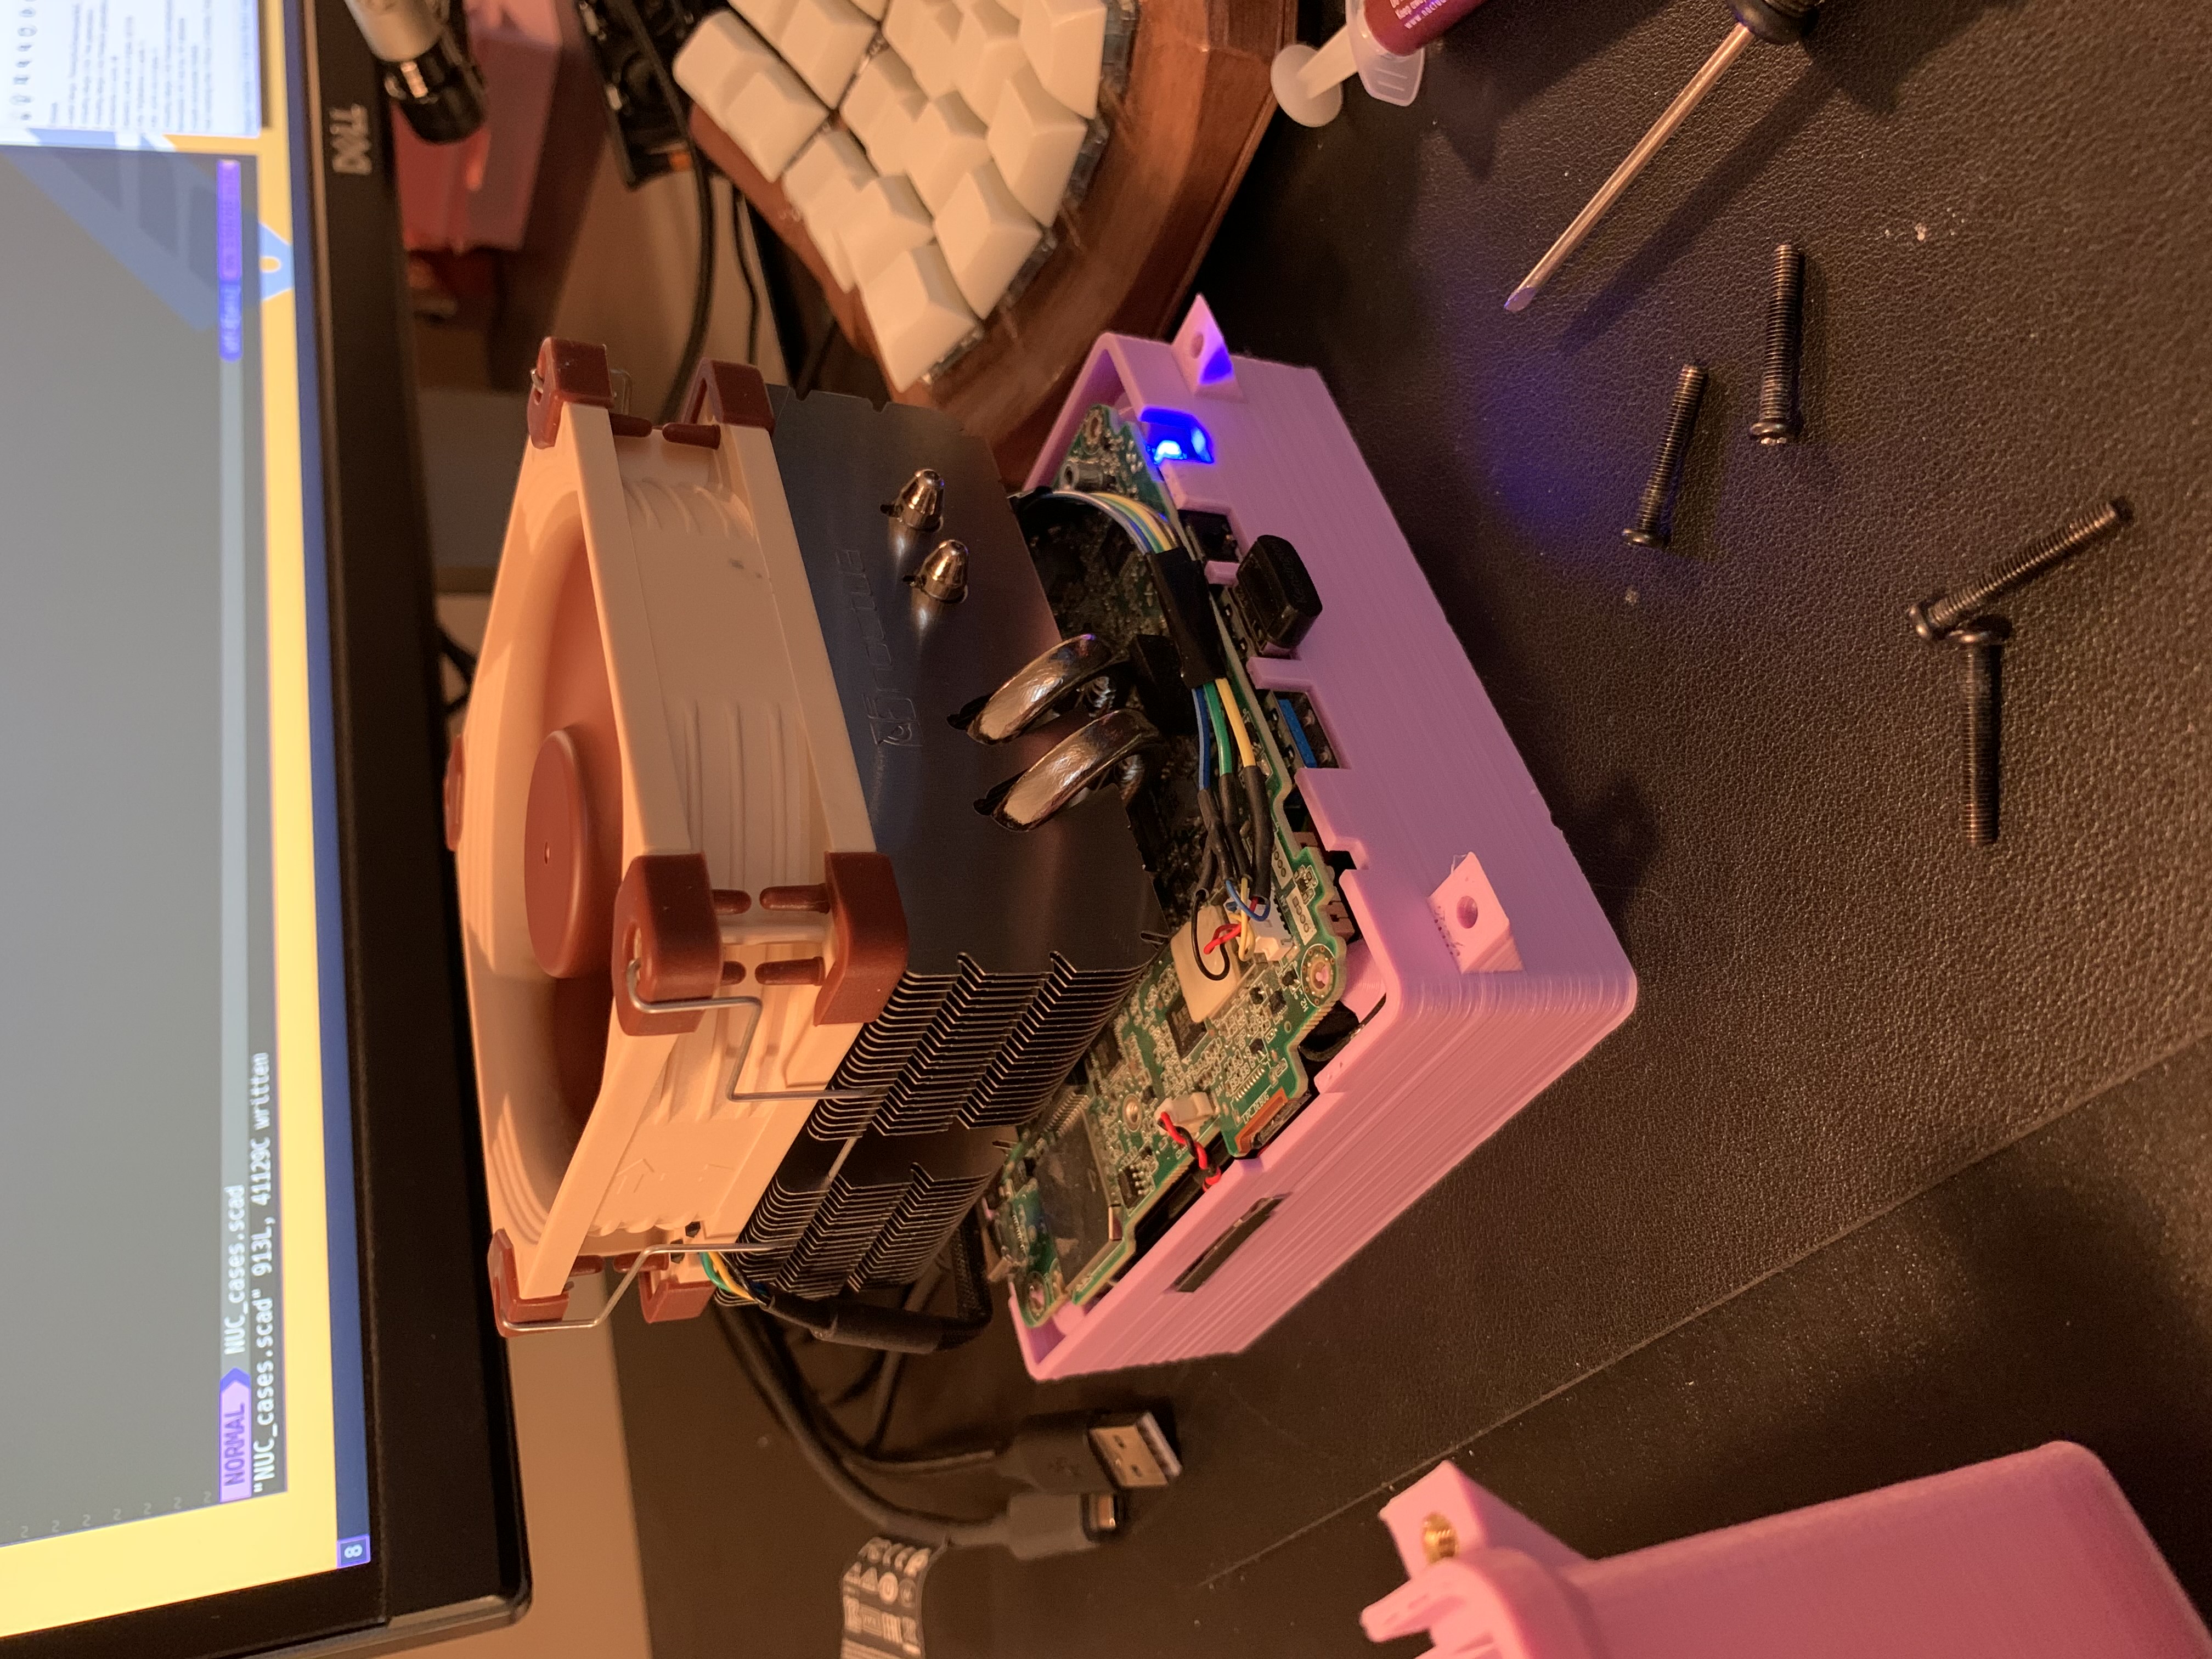
NUCs are hot. Yes, they look great but I’m talking about temperature. Performing any compute bound task quickly leads to thermal throttling. There are a few reddit posts which suggest disabling Intel’s turbo boost in the bios but that leaves a lot of performance on the table. To address the terrible cooling performance of the NUC, I designed a 3D printed case which uses a desktop cooler instead of laptop-style heat pipes.
If you care about the experiments I ran, read on. If you’re only interested in recreating this project, skip to the build log.
Motivating Experiments
I started by taking the advice of
u/DesiChad’s
and bought a Noctua NH-L9i,
a small desktop-grade CPU cooler for small processors.
The goal: run stress —-cpu 8for 5 minutes without thermal throttling.
I opened my NUC8 to find laptop style heat pipes
soldered to a copper plate on top of the CPU.
The easiest thing to do was to simply stack the CPU cooler on top
and 3D print a case for it.
Thermals were better (it took longer before the NUC thermal throttled)
but not even close to passing a 5 minute stress test.
The heat pipe solution was not up for the task.
Next, I tried removing the heat pipes from the copper plate so the L9i could directly contact the copper plate. This would have been great except the copper pad isn’t flat, there are raised bumps on the sides which connect to the tension strips holding it to the CPU. No bother, I just put a second copper shim on top, put the L9i on that, and gave it a shot.
At this point I was closer, I could run stress for a full minute without throttling. After three processor re-pastes, I figured the remaining problem was the fact that there were now three interfaces bewteen the CPU and the CPU cooler.
Next, I tried sanding the original NUCs copper plate completely flat on top so I could eliminate the second layer of copper shim in the stack. The original NUC copper plate is required because it turns out the chips underneath are at different heights.
After sanding down the bumps on the sides of the NUCs copper shim and placing the cooler directly on top, thermals were better but still throttled past 80C and topped out at 85C after 15 minutes of stress. At this point I figured it must be the 12V fan which is currently only powered with 5V from the NUC. I swapped the 12V fan with the 5V (yes, it fits on both the L9i and L9x65 coolers.) the stress test stayed below 80C!
I’m not sure exactly which combination of the steps had what impact because I can’t undo some of them. For example, sanding the copper plate down to avoid using the copper shims might not be necessary. If you tinker please let me know what you find.
Supplies
- NUC 8 or 10 (short or tall doesn’t matter)
- Noctua L9i or L9x65 CPU cooler
- Noctua NF-A9 5V 4 pin PWM fan
- 3D printed case parameterized based on cooler, fan, and NUC version
- Four M3 knurled nuts
- Four M3 20mm screws
- Soldering iron
- Thermal paste
- Four male dupont wires (optional)
- Dremel tool (optional)
- 1mm thermal gap pad (NUC10 not needed, NUC8 optional if you’re careful)
Build Log
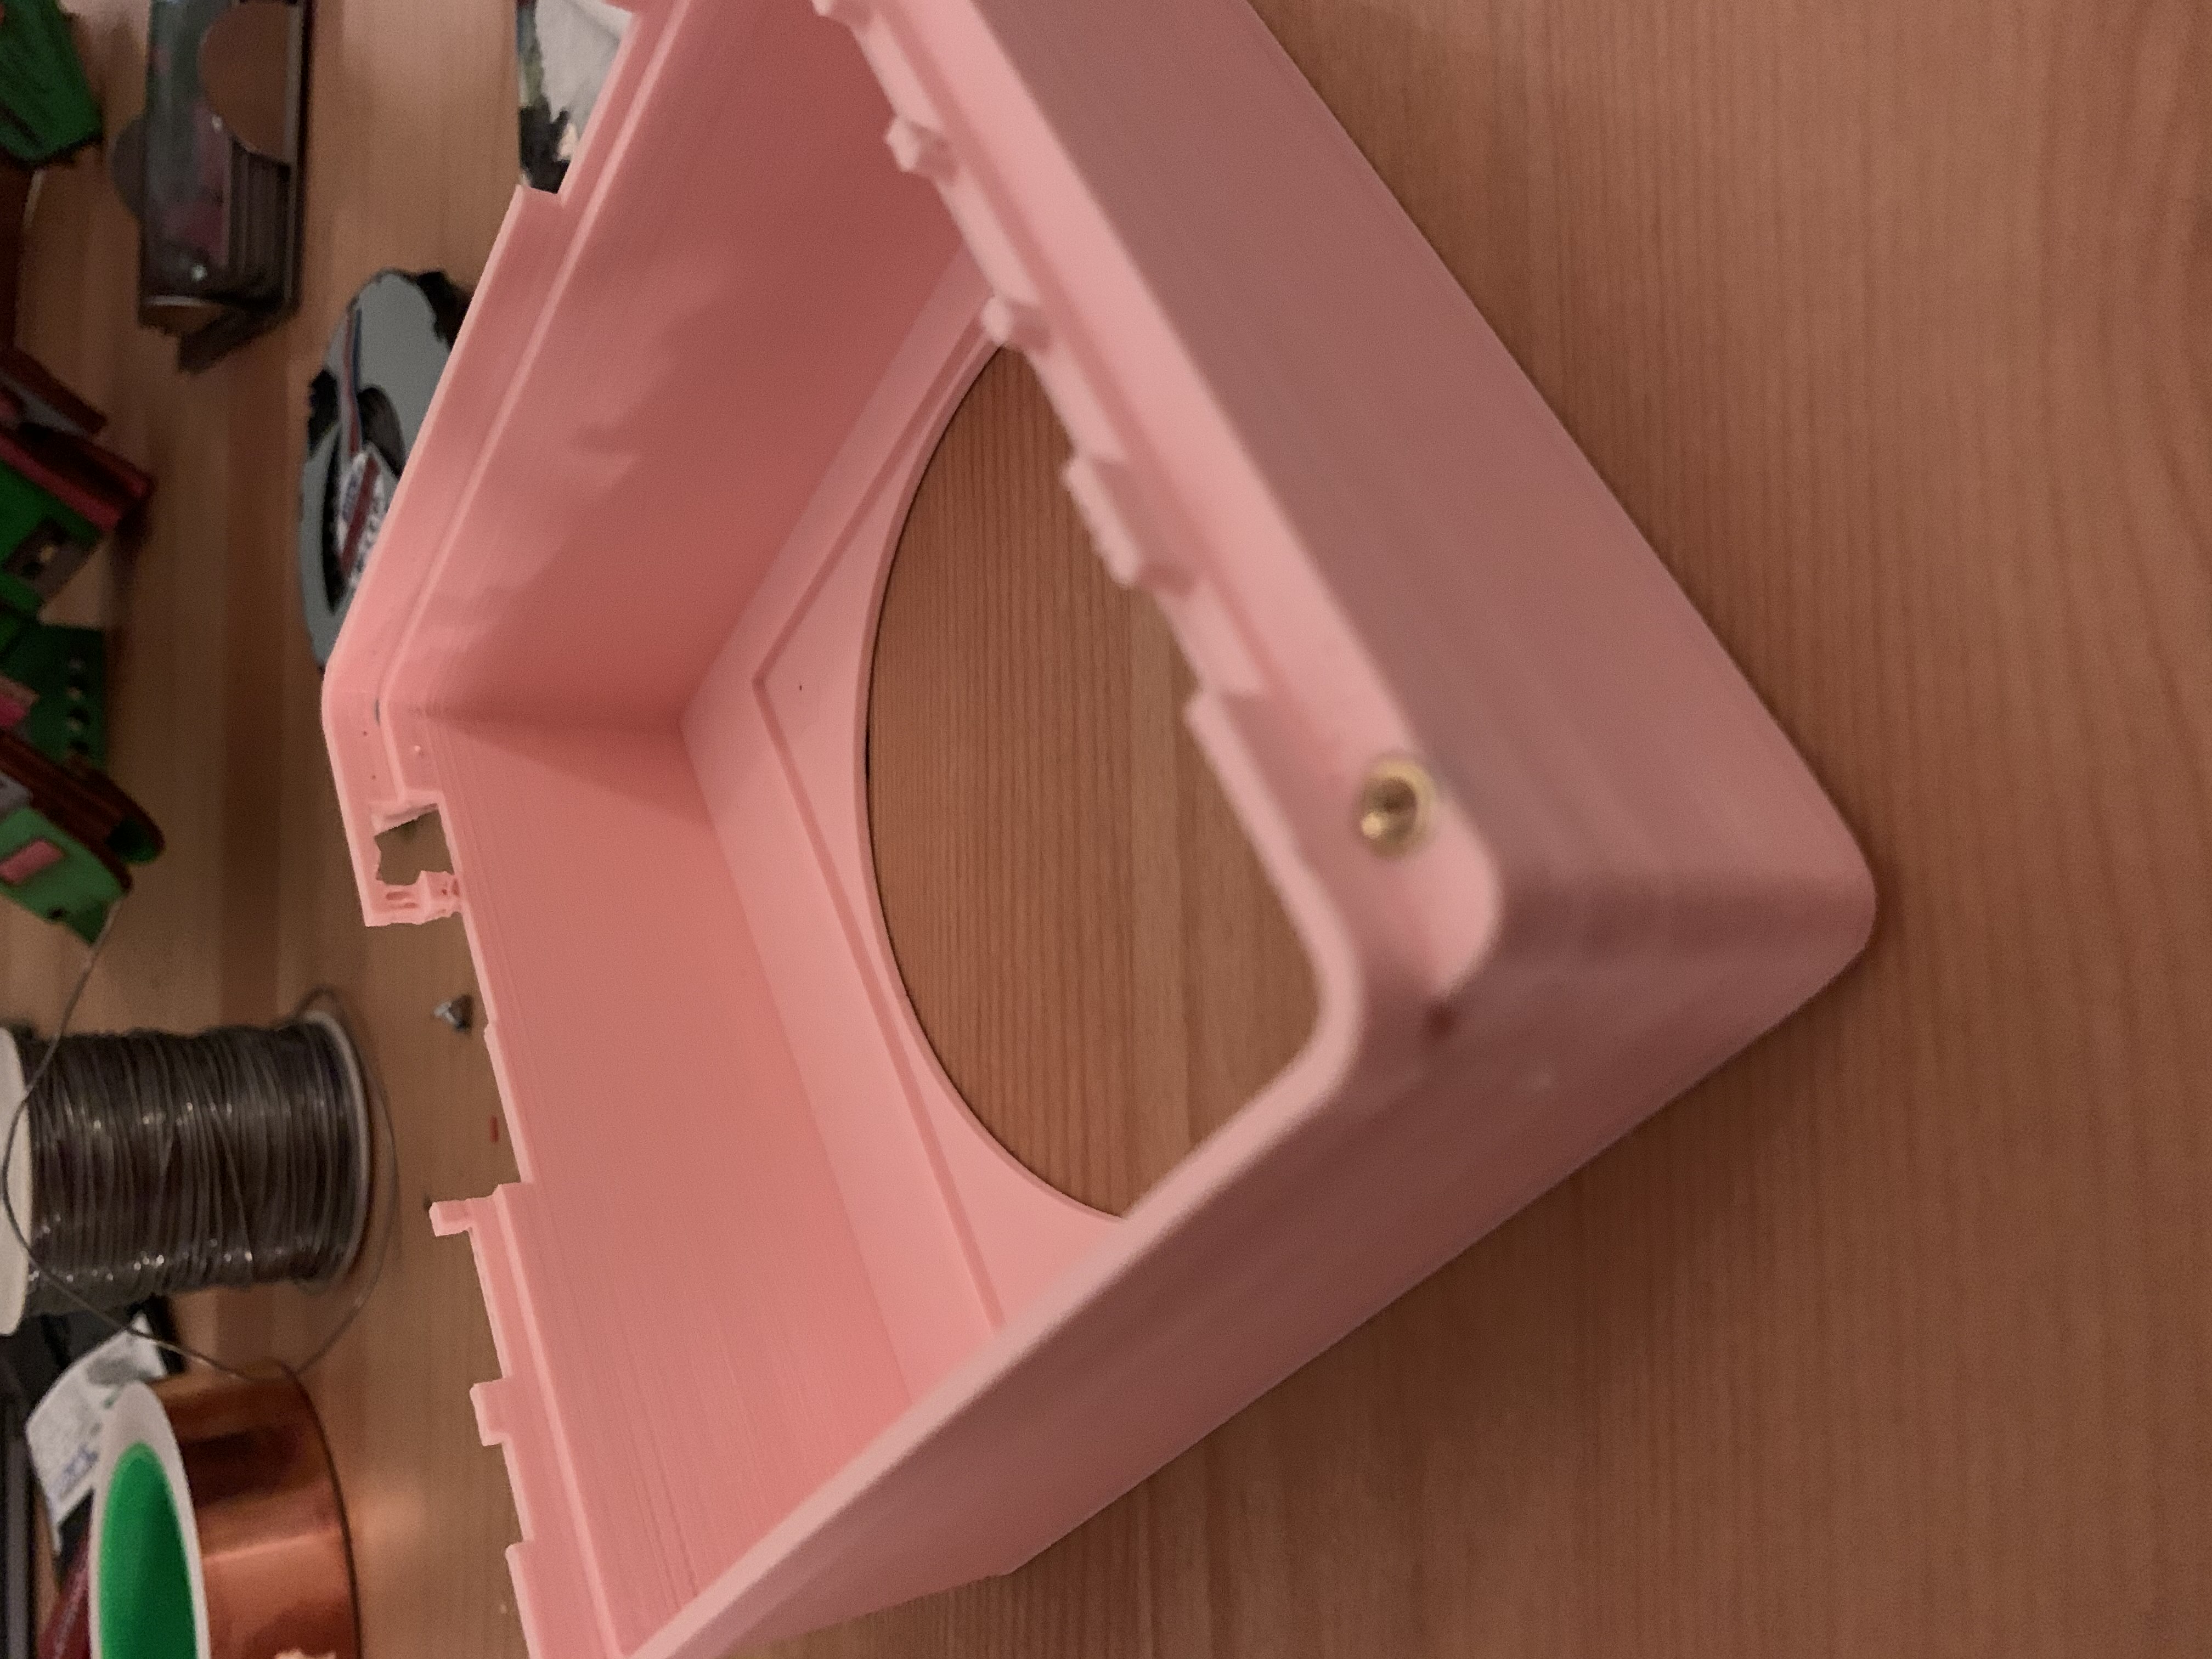
-
Put the case together to make sure it fits. Also insert the knurled nuts in the case bottom with a soldering iron. Note the picture is from an old 3D model where the nuts were in the case top.
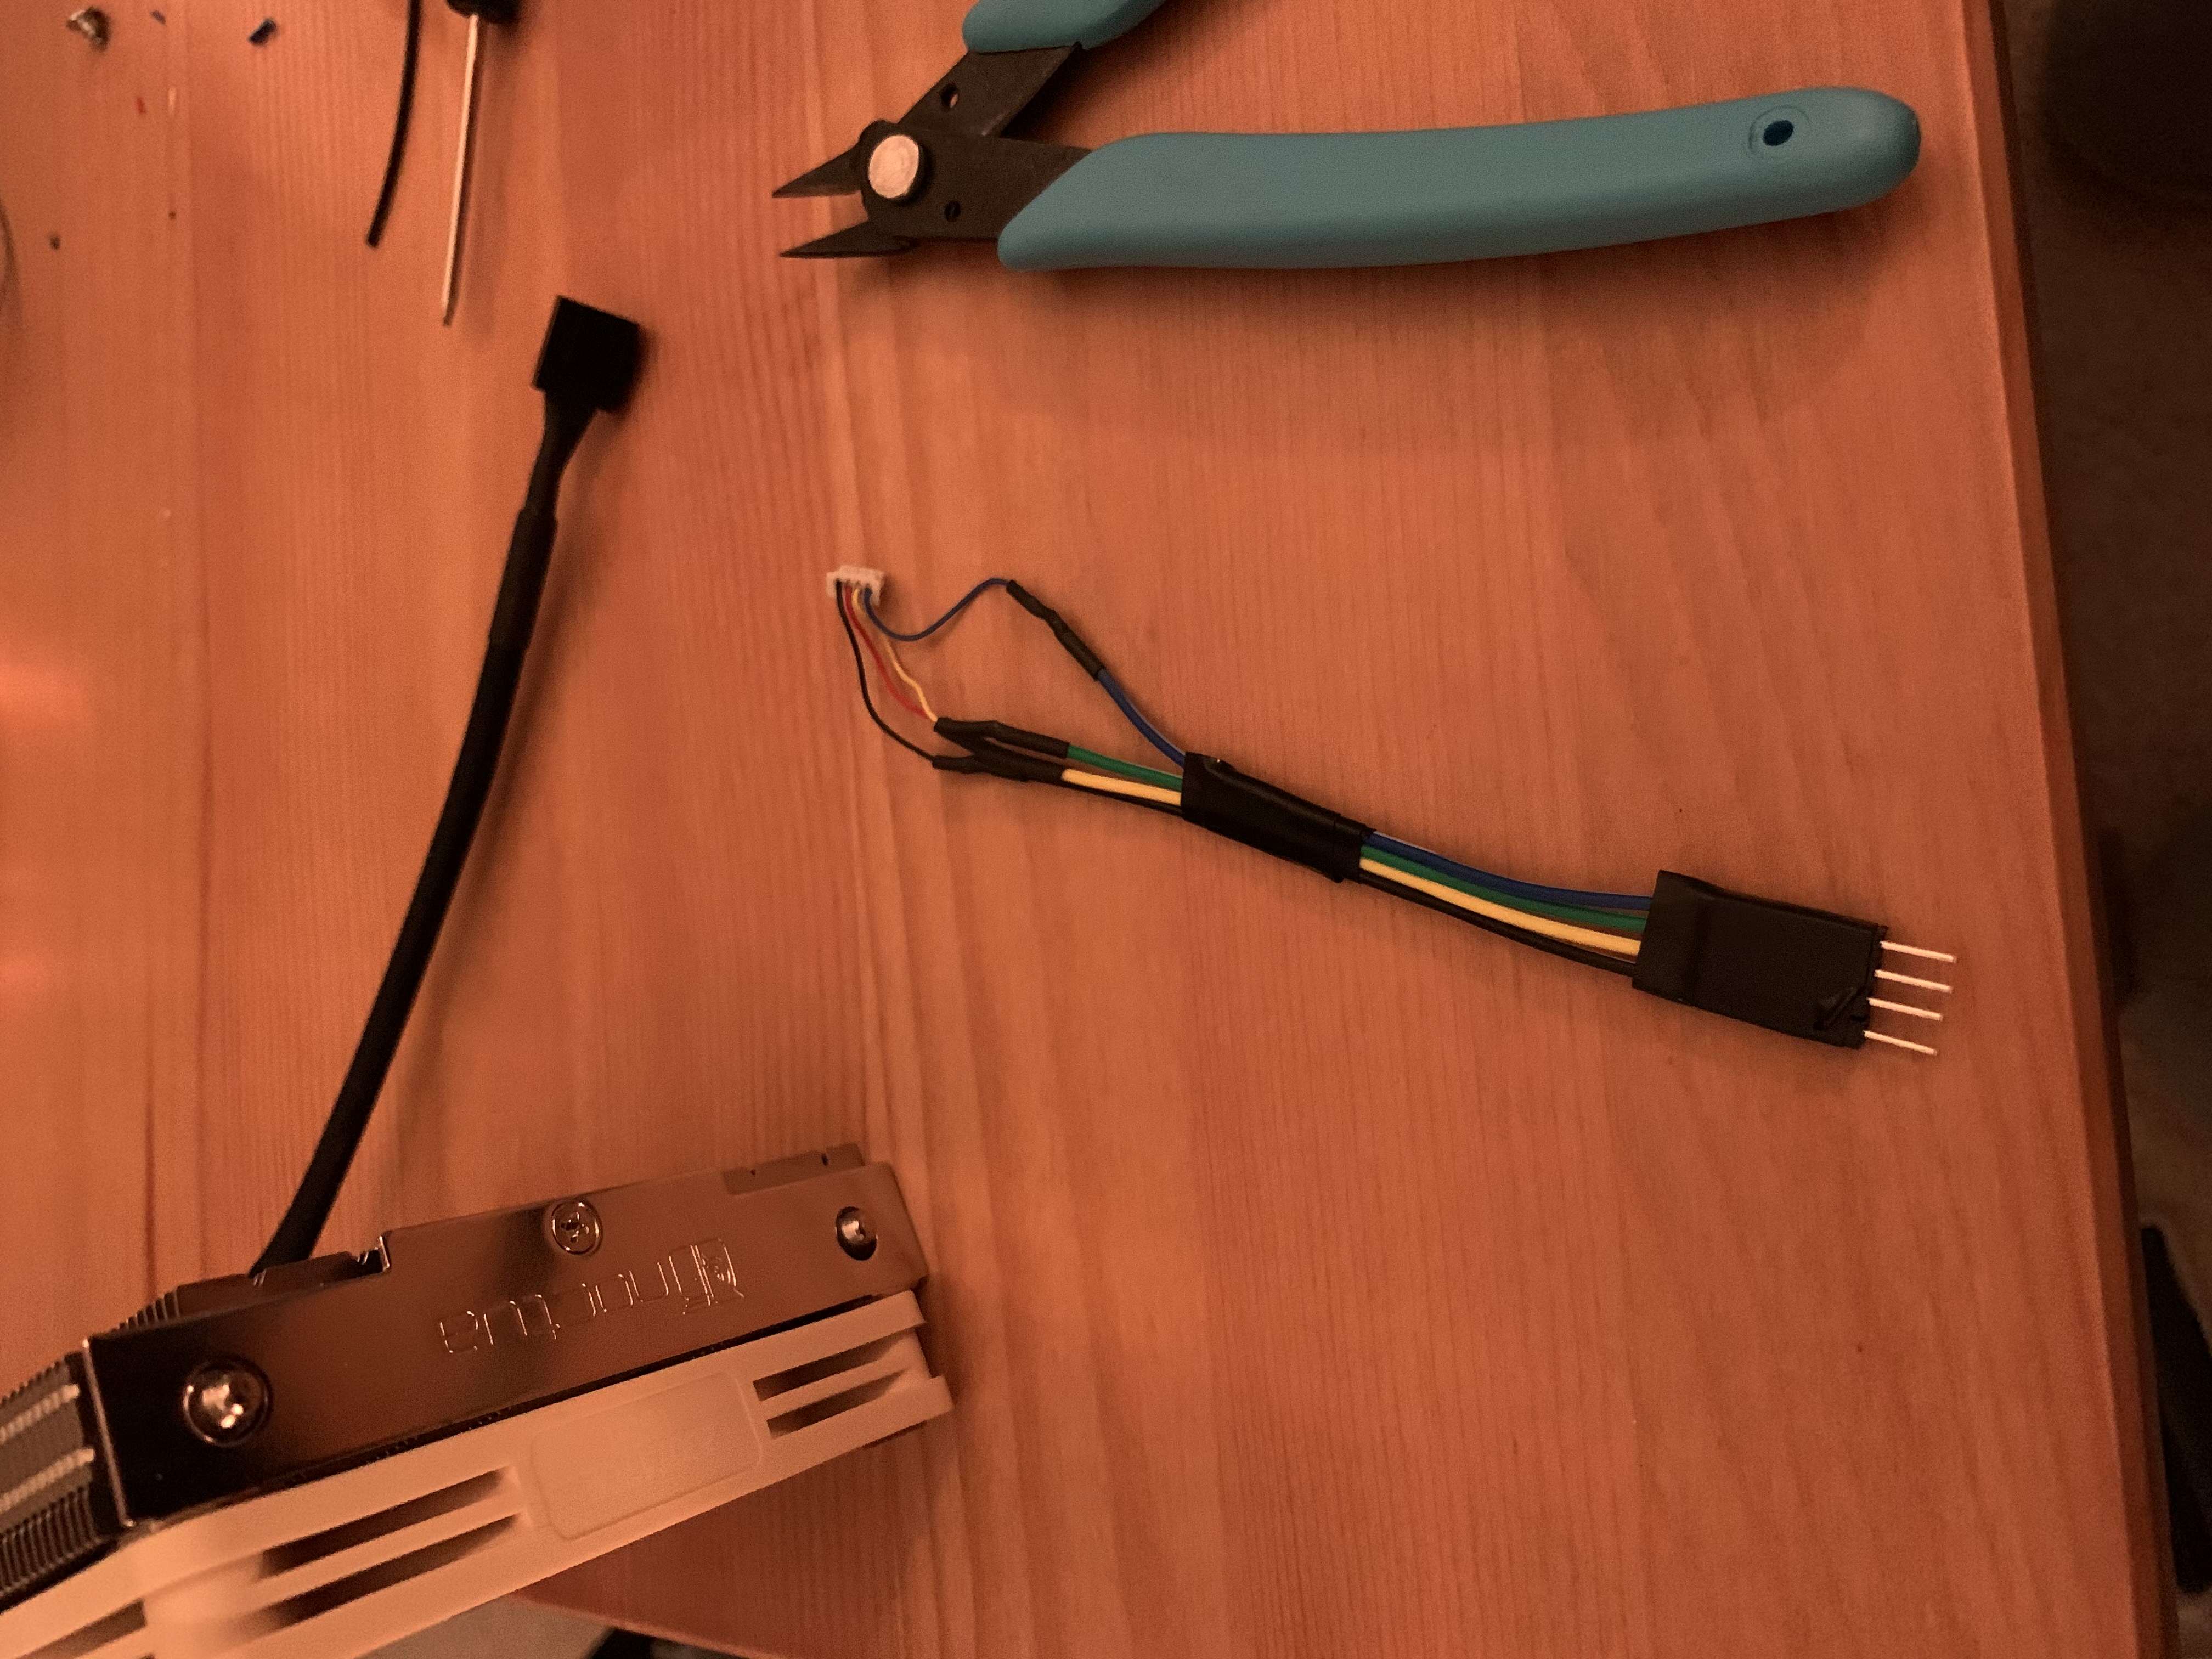
-
Install the 5V fan on the Noctua cooler.
-
Install the 5V fan on the Noctua cooler.
-
Take the NUC apart. The motherboard should be free. There are some great youtube videos on this.
-
Remove the fan and copper plate/pipes from the CPU by unscrewing the assembly from the motherboard.

-
Solder some dupont wires (or male perk strip) to the old fan connector. You’ll have to cut the wires to the fan. There’s no going back now :)

-
Pull the heat pipes off the copper plate with some pliers. The fan grill will probably break.

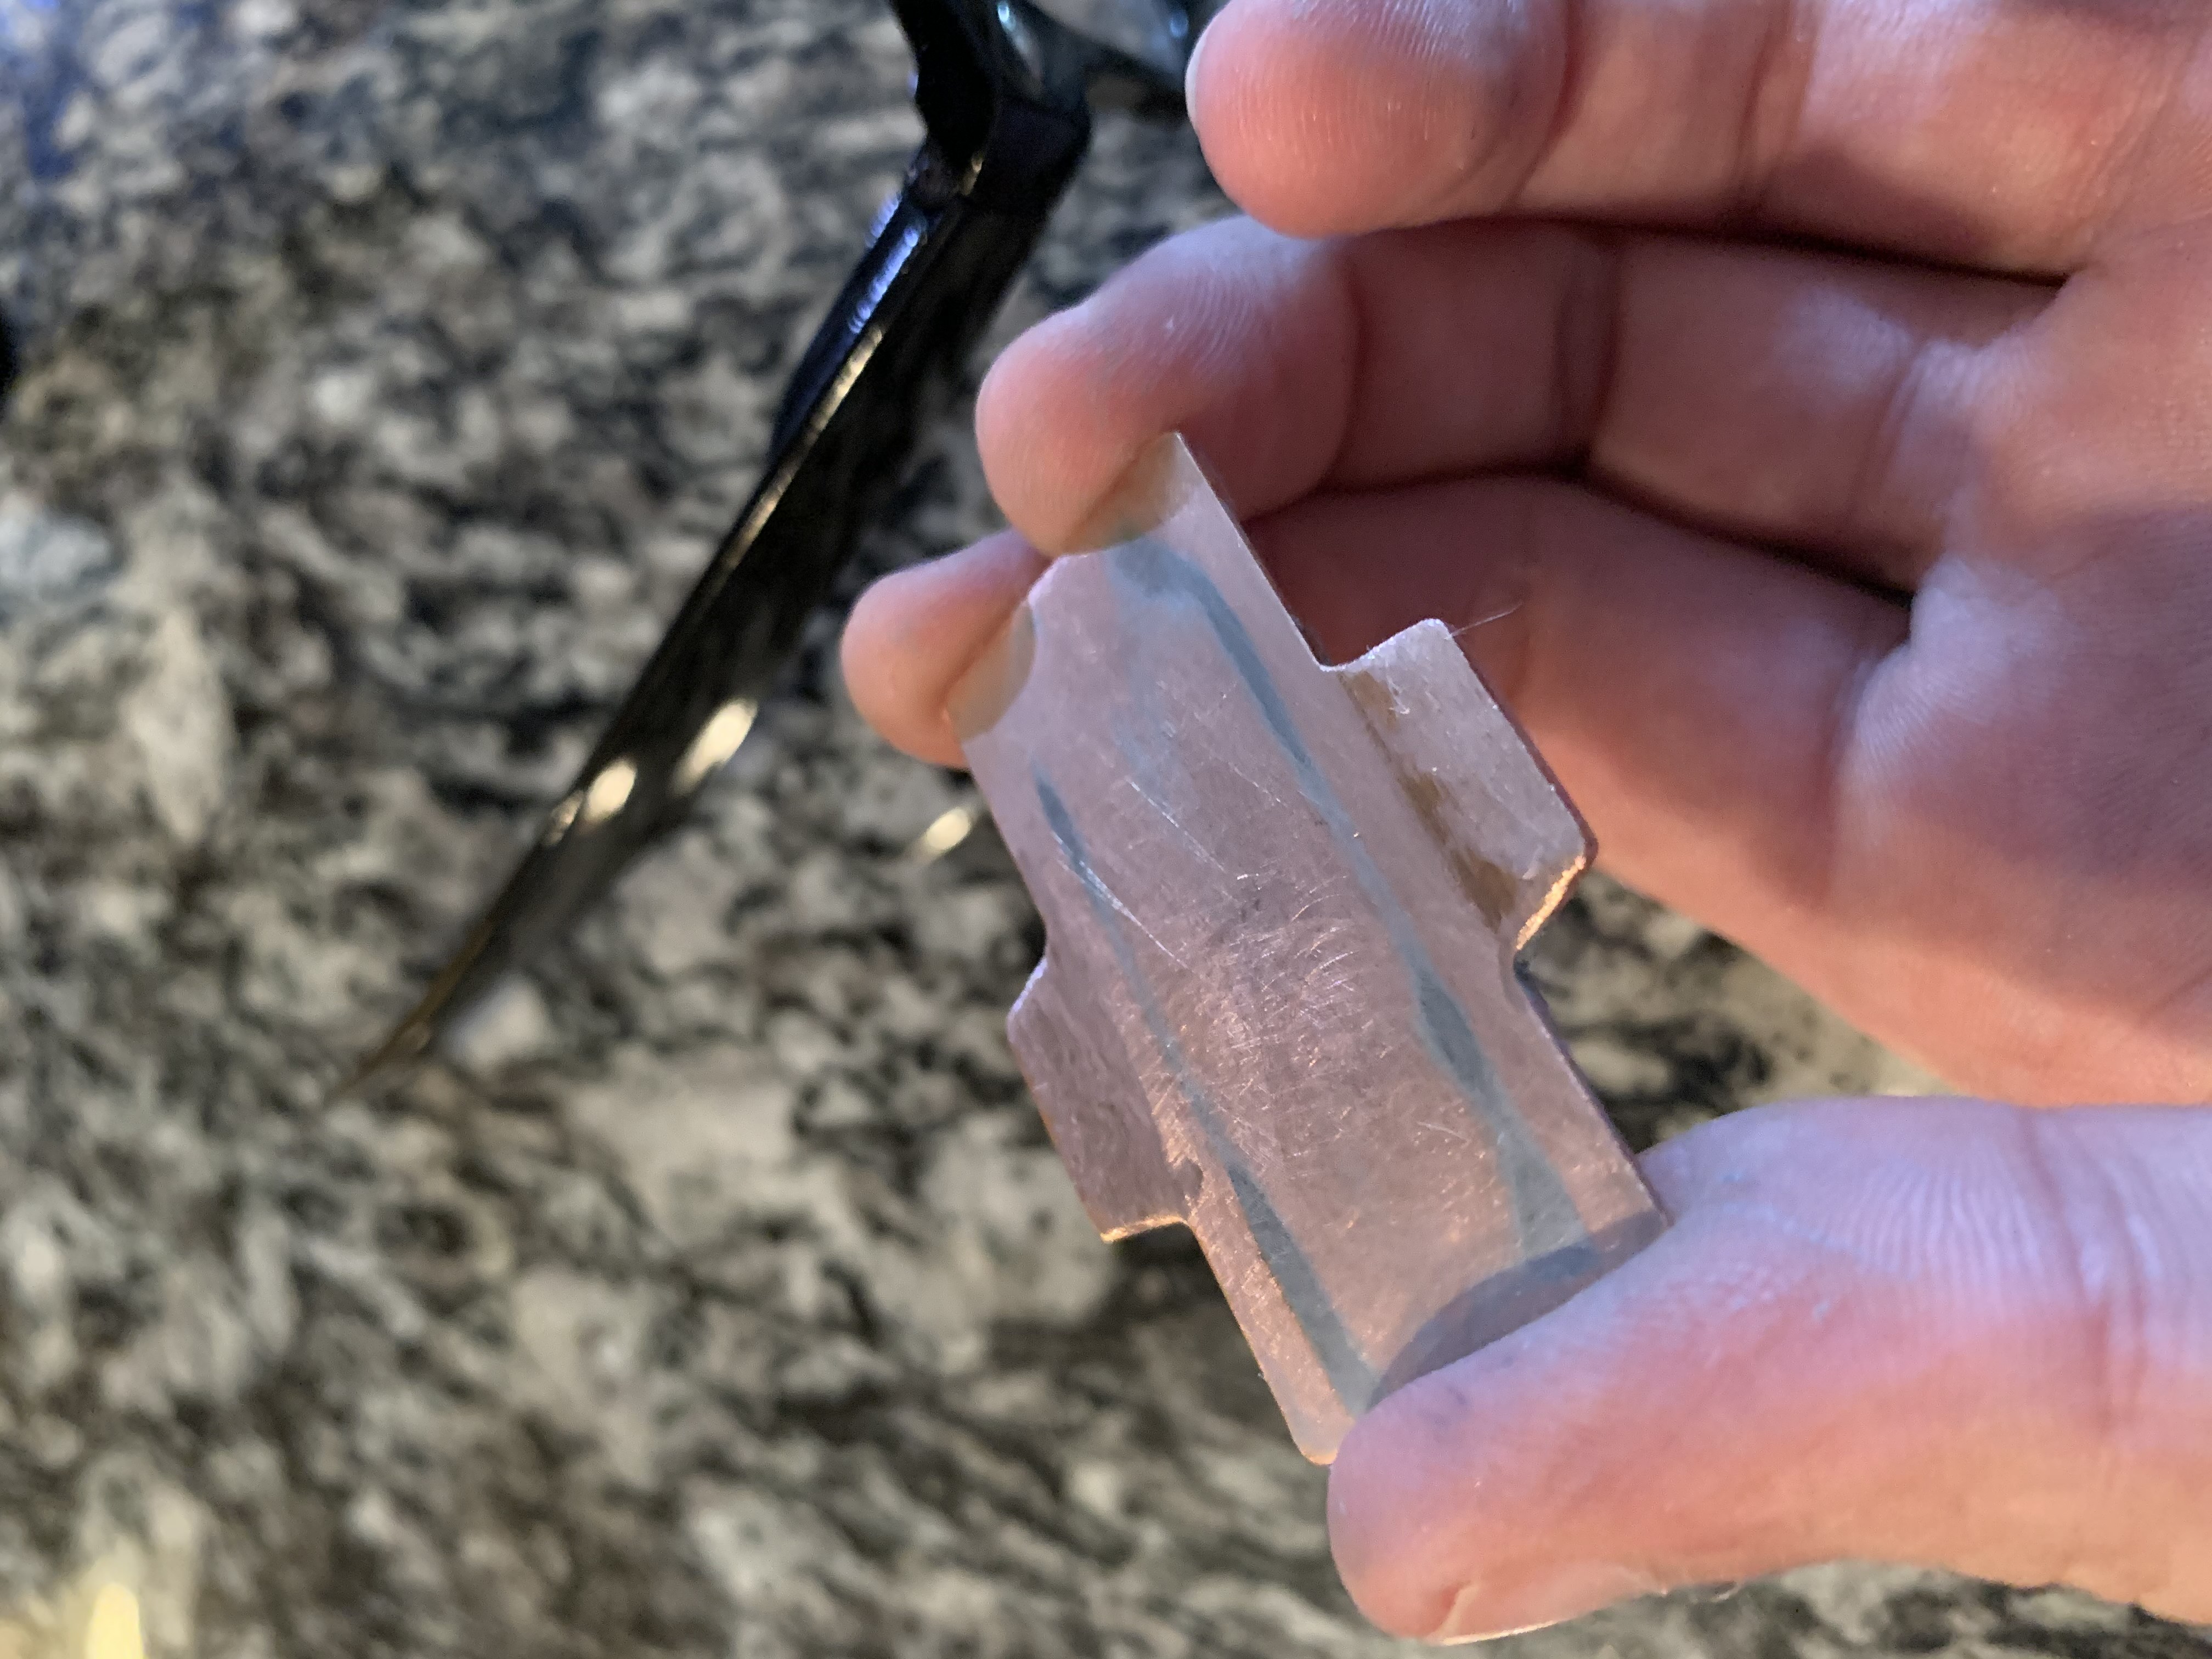
-
Sand down the sides of the copper plate with a dremel tool so the metal flanges which hold it to the motherboard sit below the top surface. Note, using a NUC8 you need to use the original copper plate because the chips below are at different heights. If instead it is a NUC10, a plain copper shim will do instead of the one that came in the NUC but note the cooler cannot sit directly on the CPU as other components get in the way.

-
Put the motherboard and any drives in the bottom half of the case. Don’t forget about the Bluetooth/WiFi antennas.

-
Apply thermal paste to the bottom of the copper plate and tighten it to the motherboard with the metal flanges. Apply more thermal paste on TOP of the copper plate and place the Noctua cooler on top.
-
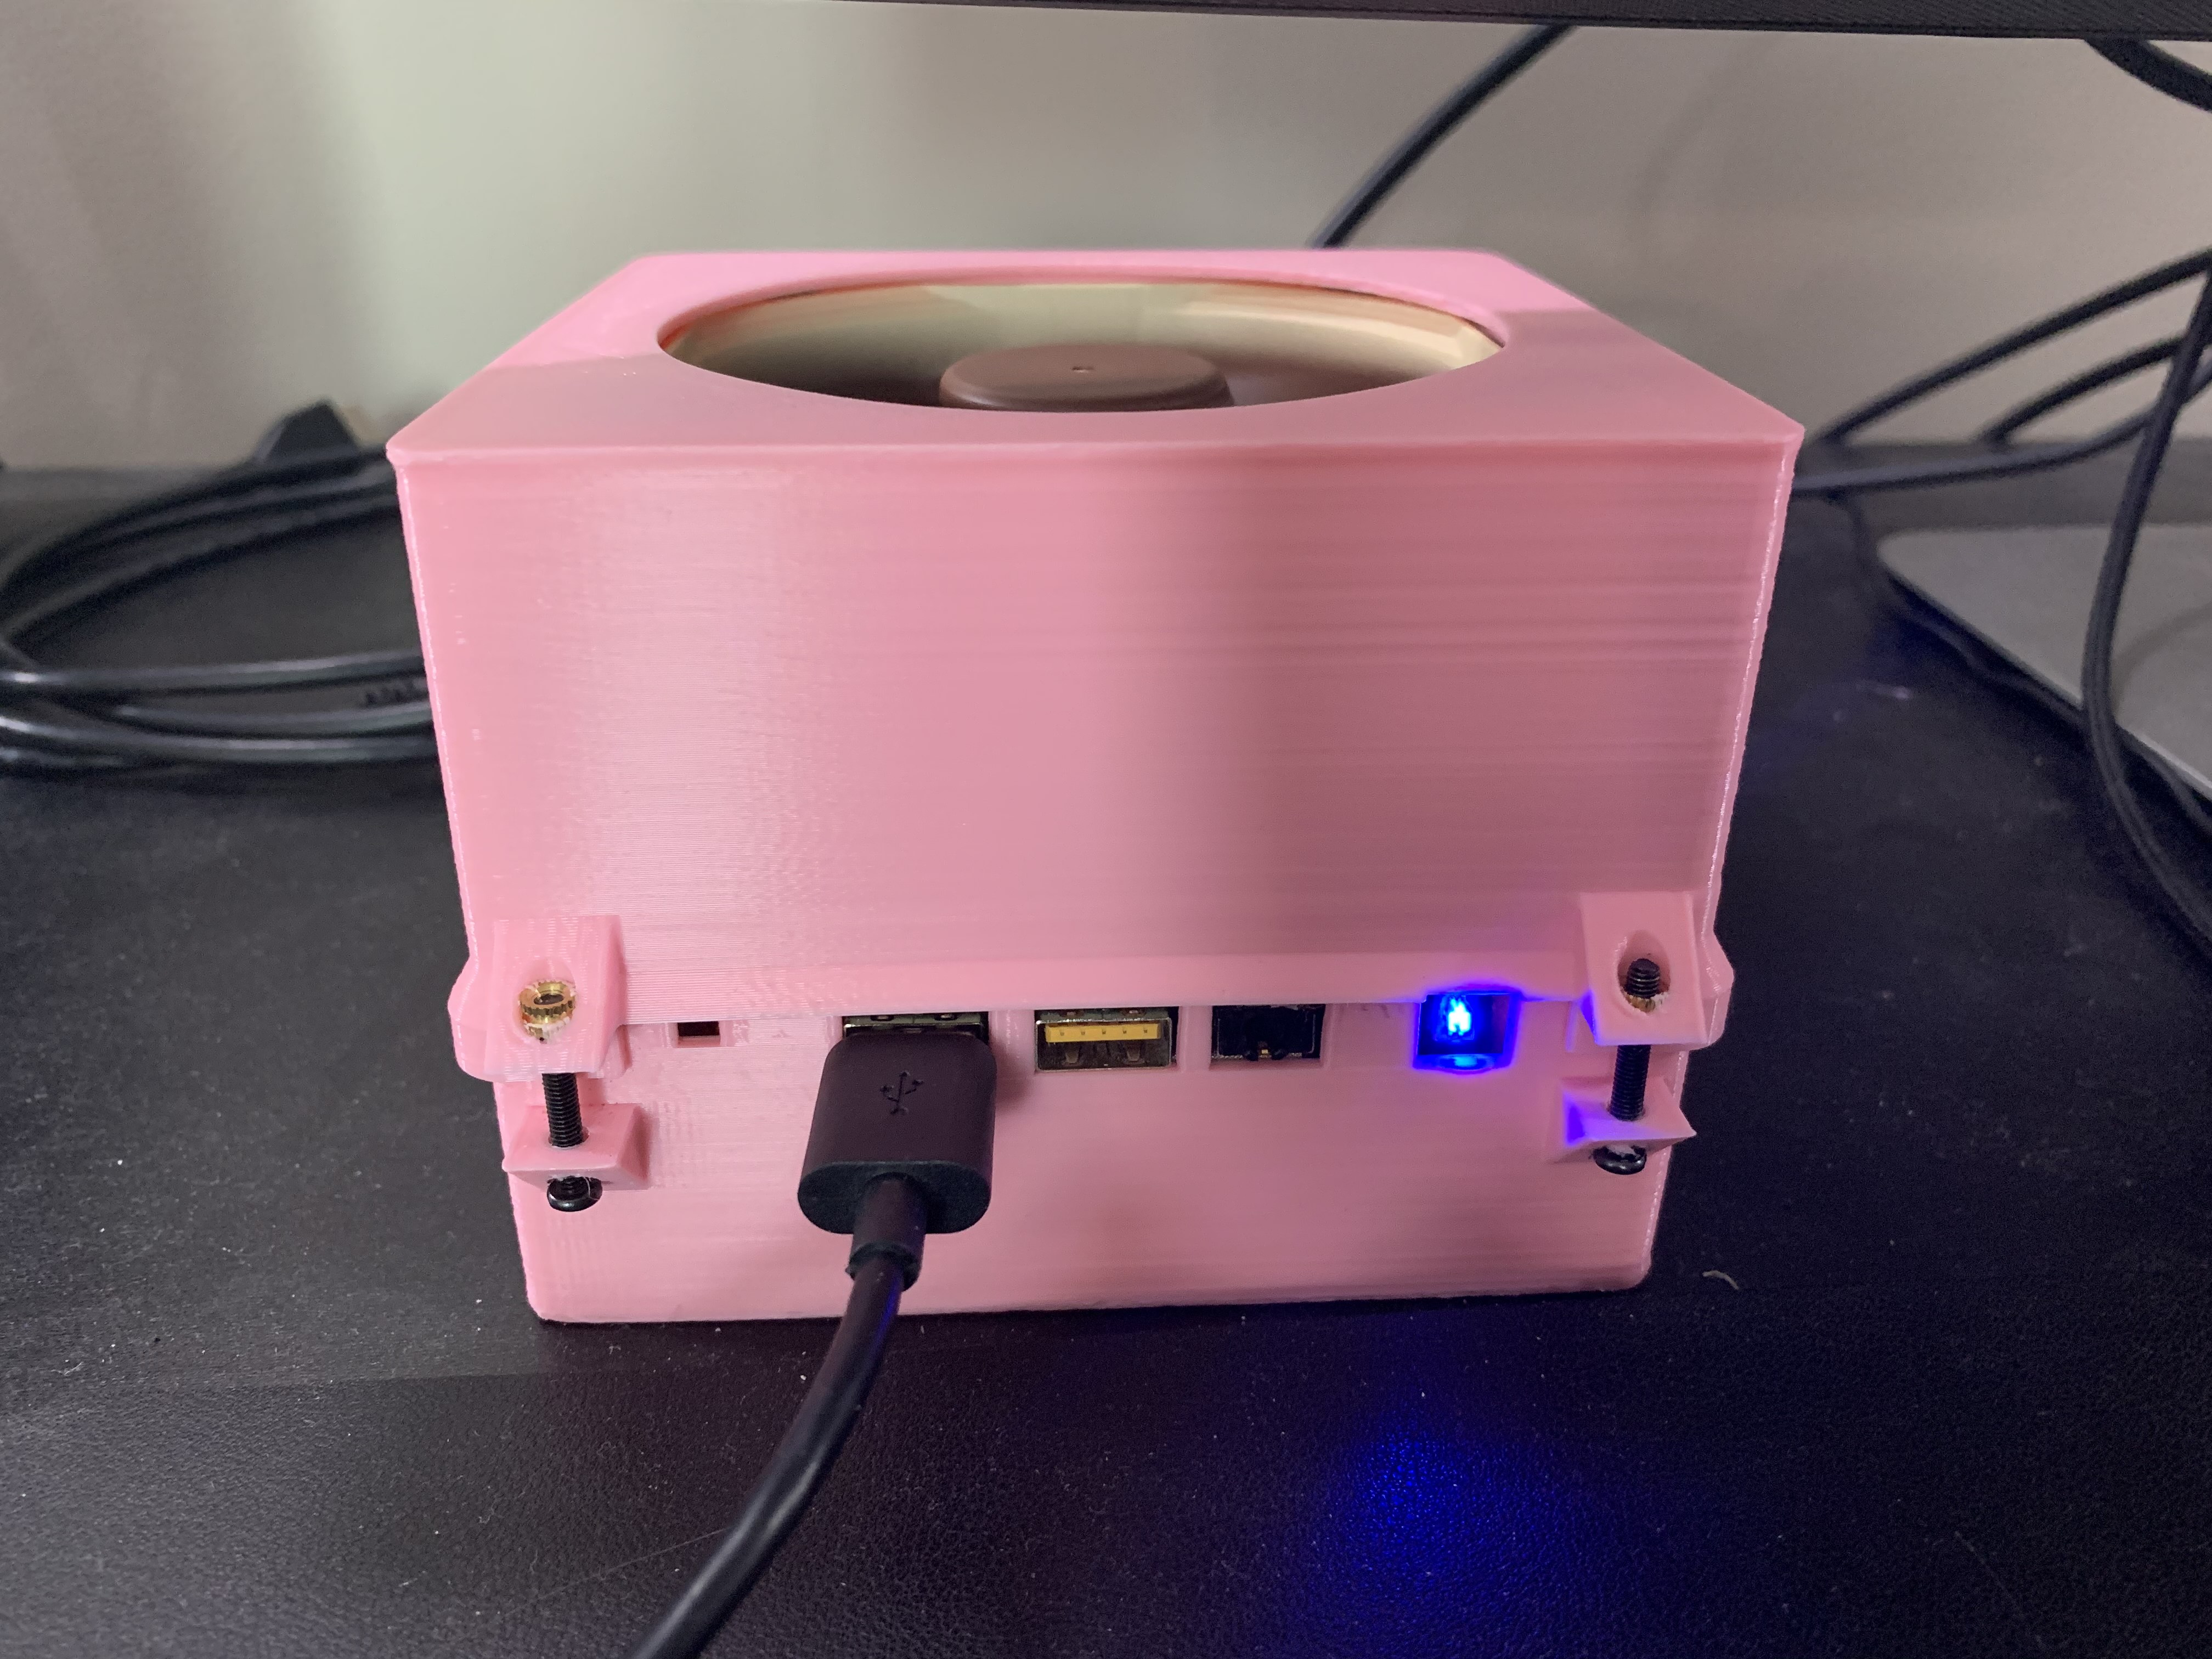
Close up the case and take it for a spin!
Other Notes
Download the case from here. I’ve tested this process on a NUC8i5 with an L9i and a NUC10i7 with an L9x65. The NUC8 runs around 80 degrees at 100% utilization, the NUC10 is hotter and will still thermal throttle. I’m not sure what else to try with the NUC10, the cooler doesn’t feel very hot even when thermal throttling which makes me think this is an issue with the processor itself, not the NUC’s chassis (see Denard scaling and dark silicon) If you end up building this, let me know how it goes!